Posted on Leave a comment

Cat Love Mugs

Do you just looooovvvveeeeeesssss CATS?!?!

Combining my love of paper craft and my love of pottery, I made these super fun and fabulous CAT LOVE mugs! They feature silhouettes of cats that I die cut from my paper crafting dies. I used removable contact paper to die cut a variety of cat shapes, then put them on bisque mugs I made a week earlier. I then glazed the mugs, removed the die cut shapes and fired them in my kiln. They each hold about 16 oz to 20 oz of coffee or whatever other beverage you enjoy!

If you are interested in purchasing a cat love mug or a licking cat spoon rest, please see my Etsy page! There are a few available! hydeparkhill.etsy.com

Cat themes also make a fantastic spoon rests, “yummmmm….whatever was on that spoon was delicious!”
Posted on Leave a comment

Table Settings

I’ve wanted to make a set of dishes for a long time. I finally did it! I hosted a table at a “Date Night” event. Hosting included making the menu and setting the table, contacting the other 3 couples at my table and request they bring items from the menu. Easy, peasy, right?!!! So, I set the table and make the main dish, everyone else brings the side dishes or dessert! Only, I had this “Amelia Bedelia” moment (a funny children’s book series where the main character, Amelia, takes everything her boss says literally) I thought, oh, I could “make the dishes” like all…make all the actual the plates we will put our food on.  I will preference this by saying, some hosts were going to use paper plates for the event. I thought, oh, I will make this extra special, I will make the main dish AND the dishes we eat from. ahahahhahha!!! Three weeks of insanity of planning and making, and continual use my pottery and glass kilns and woo hooo done! I completed a beautiful set of dishes for 8 people. Did I mention and ordering a tablecloth, napkins and fake succulents from Amazon.com helped. ahahahahah!!! 🙂 oh and Lindt Chocolate Truffles. Please, is there anything more delicious and readily available? Especially for Valentine’s?

Here is what I did!  I had a succulent texture tile and a fern texture tile from Creative Paradise Glass www.creativeparadiseglass.com and I was already making little succulent vases with my wild clay. I decided to making a theme of succulents and ferns and make dishes with glass and pottery. Using wood forms my husband made for me, I hand-built 9 12″ x 12″ wood grain texture hand-built plates. (always make an extra….) I used float glass from shelving I purchased from a department store that closed for the glassware. Wild clay from my property was used to make little vases. Yes, I used imitation succulents from Amazon, because it was winter. My die cut ferns were made with an older die cut from Spellbinders. The green and copper paper is from Recollections by Michaels.com. My color scheme as you can see was turquoise, wood, copper and white linens, turquoise napkins, turquoise organza overlay on a white tablecloth. The colors worked great because the chairs were a deep green.

Make every meal special! and invite friends to a pot luck date night dinner!

If you have any questions, please leave a comment! I will get back to you!

Next post—- my menu! It was delicious!

Happy Creating!

Eileen

IMG_3956[1]
12″ x 12″ wood grain texture clay plate, succulent texture 8 1/4″ x 8 1/4″ salad plate, succulent texture coaster for water glass, turquoise linen napkin, fern die cuts made from copper and green paper, wood grain and succulent name tags served for seating assignments, little trinket dishes for a sweet treat
IMG_3954[1]
Dessert Plates were made with float glass and a fern texture tile from creativeparadiseglass
IMG_3958[1]
Completed table setting
 

IMG_3960[1]
The little wooden pottery dish was used for lemon slices


Posted on Leave a comment

Wild Clay Process

I thought I would do a post about how we process our wild after we dig it up. We have it stored in our backyard under a tarp until we are ready to process it. We process it in small batches of about 100 lbs. which seems like a huge amount, but it really isn’t.

Here is what we do:

We wet the clay and let all the particles absorb water for a couple weeks. While it’s soaking, we screen it through a series of screens with smaller and smaller mesh size. This helps remove organic matter like leaves and small twigs that might be in it, but it also screens out small rocks and particles that we don’t want in it. Eventually, it makes a thick soup like mixture of pure clay.

As it settles, the water floats on top and the clay goes to the bottom of our mixing bin.  From there, we pour the water off as it settles, this takes another week. When the visible water is poured off the top, we now have a sludge like mixture, we pour it into a wooden box with an old sheet and a screen. This way, the water continues to be drained from the clay, but not on by floating to the top, instead it goes out the bottom. It sets for a couple more weeks to dry out more. When it’s ready, we cut it into blocks of about 25-30 lbs. and put into plastic bags to store it until I am ready to throw it on the wheel or hand-build with it.

When I am ready to throw, I wedge it a bit on my wedging table, this removes some more of the water and makes it easier to throw. If its too wet, it shrinks more 14% which is a huge percentage for pottery.

Since a picture is worth a thousand words, below are the pictures of our process.

IMG_2032[1]
soaking the clay for a few weeks
IMG_2164[1]
the screened bottom for the box
IMG_2165[1]
the open bottom box sets on the screen
IMG_2110[1]
final water drains out the bottom of box through the sheet and the screen
DAFG8053[1]
final clay ready to cut and put in bags

Keep Creating!

Eileen

Posted on Leave a comment

Wild Clay Pottery

We are digging our own clay now! It’s been an interesting adventure! I have thrown a few things with it! The clay when raw looks like a yellow-y brown color. When we bisque fire it takes on a burnt orange hue, but glazed and fired, oh wow, it turns a dark chocolate color with a bit of a purple undertone. It’s amazing to throw! But it has a hard time being bent- needs more plasticity, so we are working on that. We tested it with a soil testing kit and are slowly altering it a bit to balance the ph . Meanwhile, it vitrifies to less than 2% which makes it fully vitrified when its fired to cone 5.5. This is an exciting development in our creative adventure of Hyde Park Hill!

Here are some of my pieces! More to come in the future!

IMG_2529[1]
My new Wisconsin Wild Clay from my backyard became the perfect vase for some coneflowers from my front yard. 

wildclay planter no 2 large
Large Carved Wild Clay Planter! Available on hydeparkhill.etsy.com

small wildclay planter front view2
a small carved planter 

Look for future posts about how we are processing our new found clay! Meanwhile, if you are interested in a piece, I have some available at my Etsy shop, hydeparkhill.etsy.com! or contact me on Instagram #hydeparkhill !

Keep creating!

Eileen

Posted on 4 Comments

Carving Clay

It’s been a busy few months, OK, 6 months! :O since I last wrote here. Time flies! My husband finished building me a pottery studio complete with a tiled floor, electrical, a beautiful farmhouse sink and a 1/4 bathroom (just a toilet in a small closet) lol. My studio is amazing!  He also built me an electric slab roller from parts from here and there which I will feature in a future post. It’s not pretty, I should call it “franken-slabb” but it works amazingly well!

But the most amazing thing in these past few months is —–We found clay in our yard while digging for another project! My husband processed the clay and I threw some this week on the wheel and have been carving it. It’s beautiful! It’s a deep chocolate- (at least the test tiles before we really processed it were dark chocolate) I hope it stayed chocolate. It throws amazingly well! There is some in the bisque kiln at the moment. Stay tuned for an update and to see pics of that clay– or visit and follow my semi-new Instagram account, hydeparkhill and see current pics for my wild clay!

In more update news: Yes, I am still making cards! And new glass studio is now being built, near my pottery studio. It’s slow going getting everything set up, but it’s coming along.  So many fun things coming up! Here are some projects I have been working on!

JLHR1350[1]
Wheel thrown heart bowl, hand-carved, stoneware clay
IMG_2419[1]
seashore mug, wheel thrown and altered, stoneware clay
LKGE3332[1]
wheel thrown, hand-carved, beeswax candles available in my etsy shop, hydeparkhill.etsy.com or at claysharemarket.com
IMG_2025[1]Here is a new wedding card I created this spring! I love the lace, flowers and die cuts! But adding the vellum just makes it glow!!

Have a beautiful weekend! And keep Crafting Art!!

Eileen

Posted on Leave a comment

New Year, New Designs

Happy New Year!

Wow, it’s been a long time since I have posted on my blog! I’ve been busy making, making, making and not recording! Although, I did start an Instagram feed! Check it out! #hydeparkhill Last fall I had three market events and then Christmas! Now that its the new year, I am excited to have lots of projects and good news to share.

My husband is building me a pottery and glass studio! After a year of having a pottery wheel (SSX Thomas Stuart Skutt Wheel) and making due in a small space (a corner of my basement), now I will have a large space with a bathroom in my mom’s basement. I will also be able to move my glass studio from my porch to the other corner in the basement. My husband has also built me an electric slab roller from parts of an old furnace and a wood planer from Habitat for Humanity Restore. It’s amazing!! It rolls the most amazing even slabs ever! Hand-building has become so much easier with even smooth slabs of clay. When my studio is done I will share pics of my new beautiful creative space!

I have been doing more carving in my clay and adding flowers, using embossing rolling pins and all kinds of other exciting experiments with my clay! I am excited for what this year will hold for creativity and design in my pottery, clay and papercraft!  Below are pictures of my new designs and new creations for the new year! They are available on my etsy shop! hydeparkhill.etsy.com 

Happy Crafting to you!

Eileen

blue sweater mug brown buttons3 white scrap treesyellow jug side leftsnowflake tree bluesnowflake tree clear glass 2white flower bowl pic 1

Posted on Leave a comment

Cherry Blossom Birdhouse

Well, spring is almost done and summer is almost here! I finally glazed up a birdhouse that has been bisque fired and waiting for glaze for almost a year! Sometimes I am just not brave enough. I love how it turned out! It was hand-built with coils in a style that reminds me of an old fashioned beehive. A jaunty  looking lid covers the top opening.  There is a drainage hole in the bottom. Trailing cherry blossoms and little blue butterflies wrap around. The red flower seems to sprout out from the 1 1/4″ hole in the middle giving the perfect size for a special backyard bird to make a home. It’s about 8″ tall and 7″ wide at the base.

Supply list and directions to make your own are below! If you are interested in purchasing this particular one, please go to my etsy shop, hydeparkhill.etsy.com where you can find this and many other lovely items to beautify your life!

Enjoy your cheery, cherry blossom spring morning!

Eileen

Supplies: Clay: speckled cone 5 clay for main body, b-mix 5 for flowers, leaves and butterflies, Other supplies: cherry blossom fondant mold, leaf shape cookie cutter, 5 petal flower cookie cutter, leaf or petal vein press mold (I used Wilton’s fondant flower molds & vein mold), parachute cord for hanging it up.

Glaze: Laguna White, Yellow, Clear Bright, Amaco Celebration Pink, Potter’s Choice Seaweed; Velvet Underglaze: electric blue, black, bright red, orange

Directions: Roll out a 1/4″ thick slab and cut your circle shaped base and cut an uneven wavy shape for the top- curve the sides with your fingers and use newsprint or paper towels to help the up and down curves to keep their shape, cut two holes for the cord about an inch or two apart. Set the top aside to be soft leather hard. Cut a hole in the bottom slab with a 1/4″ hole cutter for drainage, slip and score around the edge and roll out your first coil. Attach your coil and continue to roll and attach coils all the way up to the top- slowly bringing in shape to be more narrow at the top. Let it firm up a bit. Cut a hole 1 1/2″ in the middle of the side of your birdhouse. Cut two holes- one on each side at the top for the cord to be strung through and then through the lid- make sure everything lines up well. Roll a small slab and cut a 5 petal flower, cut the petals apart and give the petals veins with a texture tool or a leaf vein tool. Slip and score and attach your petals around the entrance hole. Using your flower mold and cornstarch, make flowers, branches and leaves attaching them wherever you want all the way around the birdhouse and on the lid. Slip and score and attach butterflies. Cover with plastic and let it sit for a few days. Slowly dry. Bisque fire to cone 05, glaze and fire to cone 5. I used black parachute cord for hanging it up!

This slideshow requires JavaScript.

Posted on Leave a comment

Doodle Art Vase

Wow! I can’t believe Christmas has come and gone already! My husband completely surprised me this year and bought me a pottery wheel. I mostly hand build and the wheel as been a challenge to find time and let’s be honest —it’s a bit intimidating at first. So now at my house I have a pottery wheel I can use whenever I get some time and don’t have to worry about driving to the studio in town to use one there. It was in my kitchen for about 2 weeks -I know, bad idea-now it’s in the basement in a small space I made by relocating several filing cabinets, more about my small space pottery studio in a future post.

About a year and a half ago I did a doodle drawing for a church art event. This month I carved the same flowers into a leather hard vase I threw on my wheel! I love the results. I love doing something on paper and being able to reproduce it in clay or glass.  Paper, pottery and glass, it’s a fun mix and what I do here at Hyde Park Hill!

Below are pictures of my verse doodle along with my pottery and glass inspired by my doodle!

Enjoy! and happy creating in the up coming new year!

Eileen


Posted on Leave a comment

Zinnias

I love Zinnias! They are my favorite annual flower to plant in my front yard. They grow and bloom all summer long until a hard frost. I decided I wanted to capture their beauty by making a stoneware clay dish- a shallow dish, great for use and display. I used my paper crafting zinnia stamp along with a dragonfly stamp, a leaf stamp and a doily all pressed into clay to make this beauty. It was bisque fired to cone 05, glazed with colorful underglazes and coated with clear glaze and fired again up to cone 5.

Enjoy the beautiful pictures and a sad farewell to fall as frost and winter are soon to arrive.


As you can see, you don’t have to use all bright colors, just using royal blue underglaze to highlight all the outlines makes for a pretty bowl and plate.

This idea of stamping onto clay can work with already made bisque at a “paint your own pottery” place too. Just bring your stamps and stamp on a piece of bisque they sell! They will clear coat it and fire it and there you have your own unique piece!

Have a beautiful weekend crafting and don’t forget you can use your paper crafting stamps for more than just paper!

Eileen


Posted on Leave a comment

Let’s Celebrate!

Let’s Celebrate! There are so many things to celebrate in life! Birthdays are one of my favorite things. Lately, I have been combining all my hobbies into one project. (see last week’s post: Morning has Broken Petunia Canvas Project) This new project combines two hobbies–paper crafting and pottery. In a future post, I will show how I use paper crafting stamps and fusing glass together.  In this birthday card, a hand-stamped, handmade ceramic piece was added to layers of die cuts makes for a uniquely rustic and beautiful card!

Supplies and directions below!

Lets celebrate front view2


Products Used: HFC Classic Petunia Stamp and Die sets, HFC Petunia Paper Pad, Designer Dries Clear Adhesive, Stamp Mat Pad, 6”x6” white card base, dark brown cardstock, candlelight cardstock, white cardstock, vellum, 140# watercolor paper, Staz-on Timber brown, Distress ink: Picked Raspberry, Squeezed Lemonade, Peeled Paint, Mowed Lawn, Forest Moss, faux pearls, Spellbinders Fleur de Elegance, Spellbinders Victorian Medallion 2, water brush, hot glue gun, “Let’s Celebrate” sign (see special note at the end of directions)

Instructions: Cut a 6”x 6” white card base, cut brown cardstock 5.75” x 5.75”, cut a paper pad paper 5.5” x 5.5”, cut one Victorian Medallion 2 out of the vellum- cut in half. Cut a Fleur de Elegance from candlelight paper and cut 3 more times from white cardstock and layer and adhere them together to make a stiff background piece. Cut the middle die from the Fleur set from watercolor paper 2 times- stamp one with the “It’s your Birthday” stamp in Staz-on Timber Brown ink. Stamp the petunia bouquet 3 times on watercolor paper with Staz-on Timber Brown. Color with Distress Ink colors, let dry, die cut and layer the 3 pieces with dimensional foam adhesive. Stamp the petunia corner stamp 4 times on watercolor paper with timber brown, color with distress inks and die cut. Stamp the petunia vine 1 time on watercolor paper with timber brown and color with distress inks, and die cut. Layer all your pieces starting with the brown, pink, medallion (cut in half so it sticks out from the sides of the frame) put the corner petunia pieces in, the middle piece, the side vine, the large bouquet. Adhere the piece to the card base. Assemble the inside of the card: Cut 1 piece of petunia paper pad 5.5” x 5.5”, put two corner petunia vines in opposite corners. Put the Fleur middle piece that was stamped with “It’s your Birthday” in the middle. Decorate front and inside with faux pearls. Give to a friend!

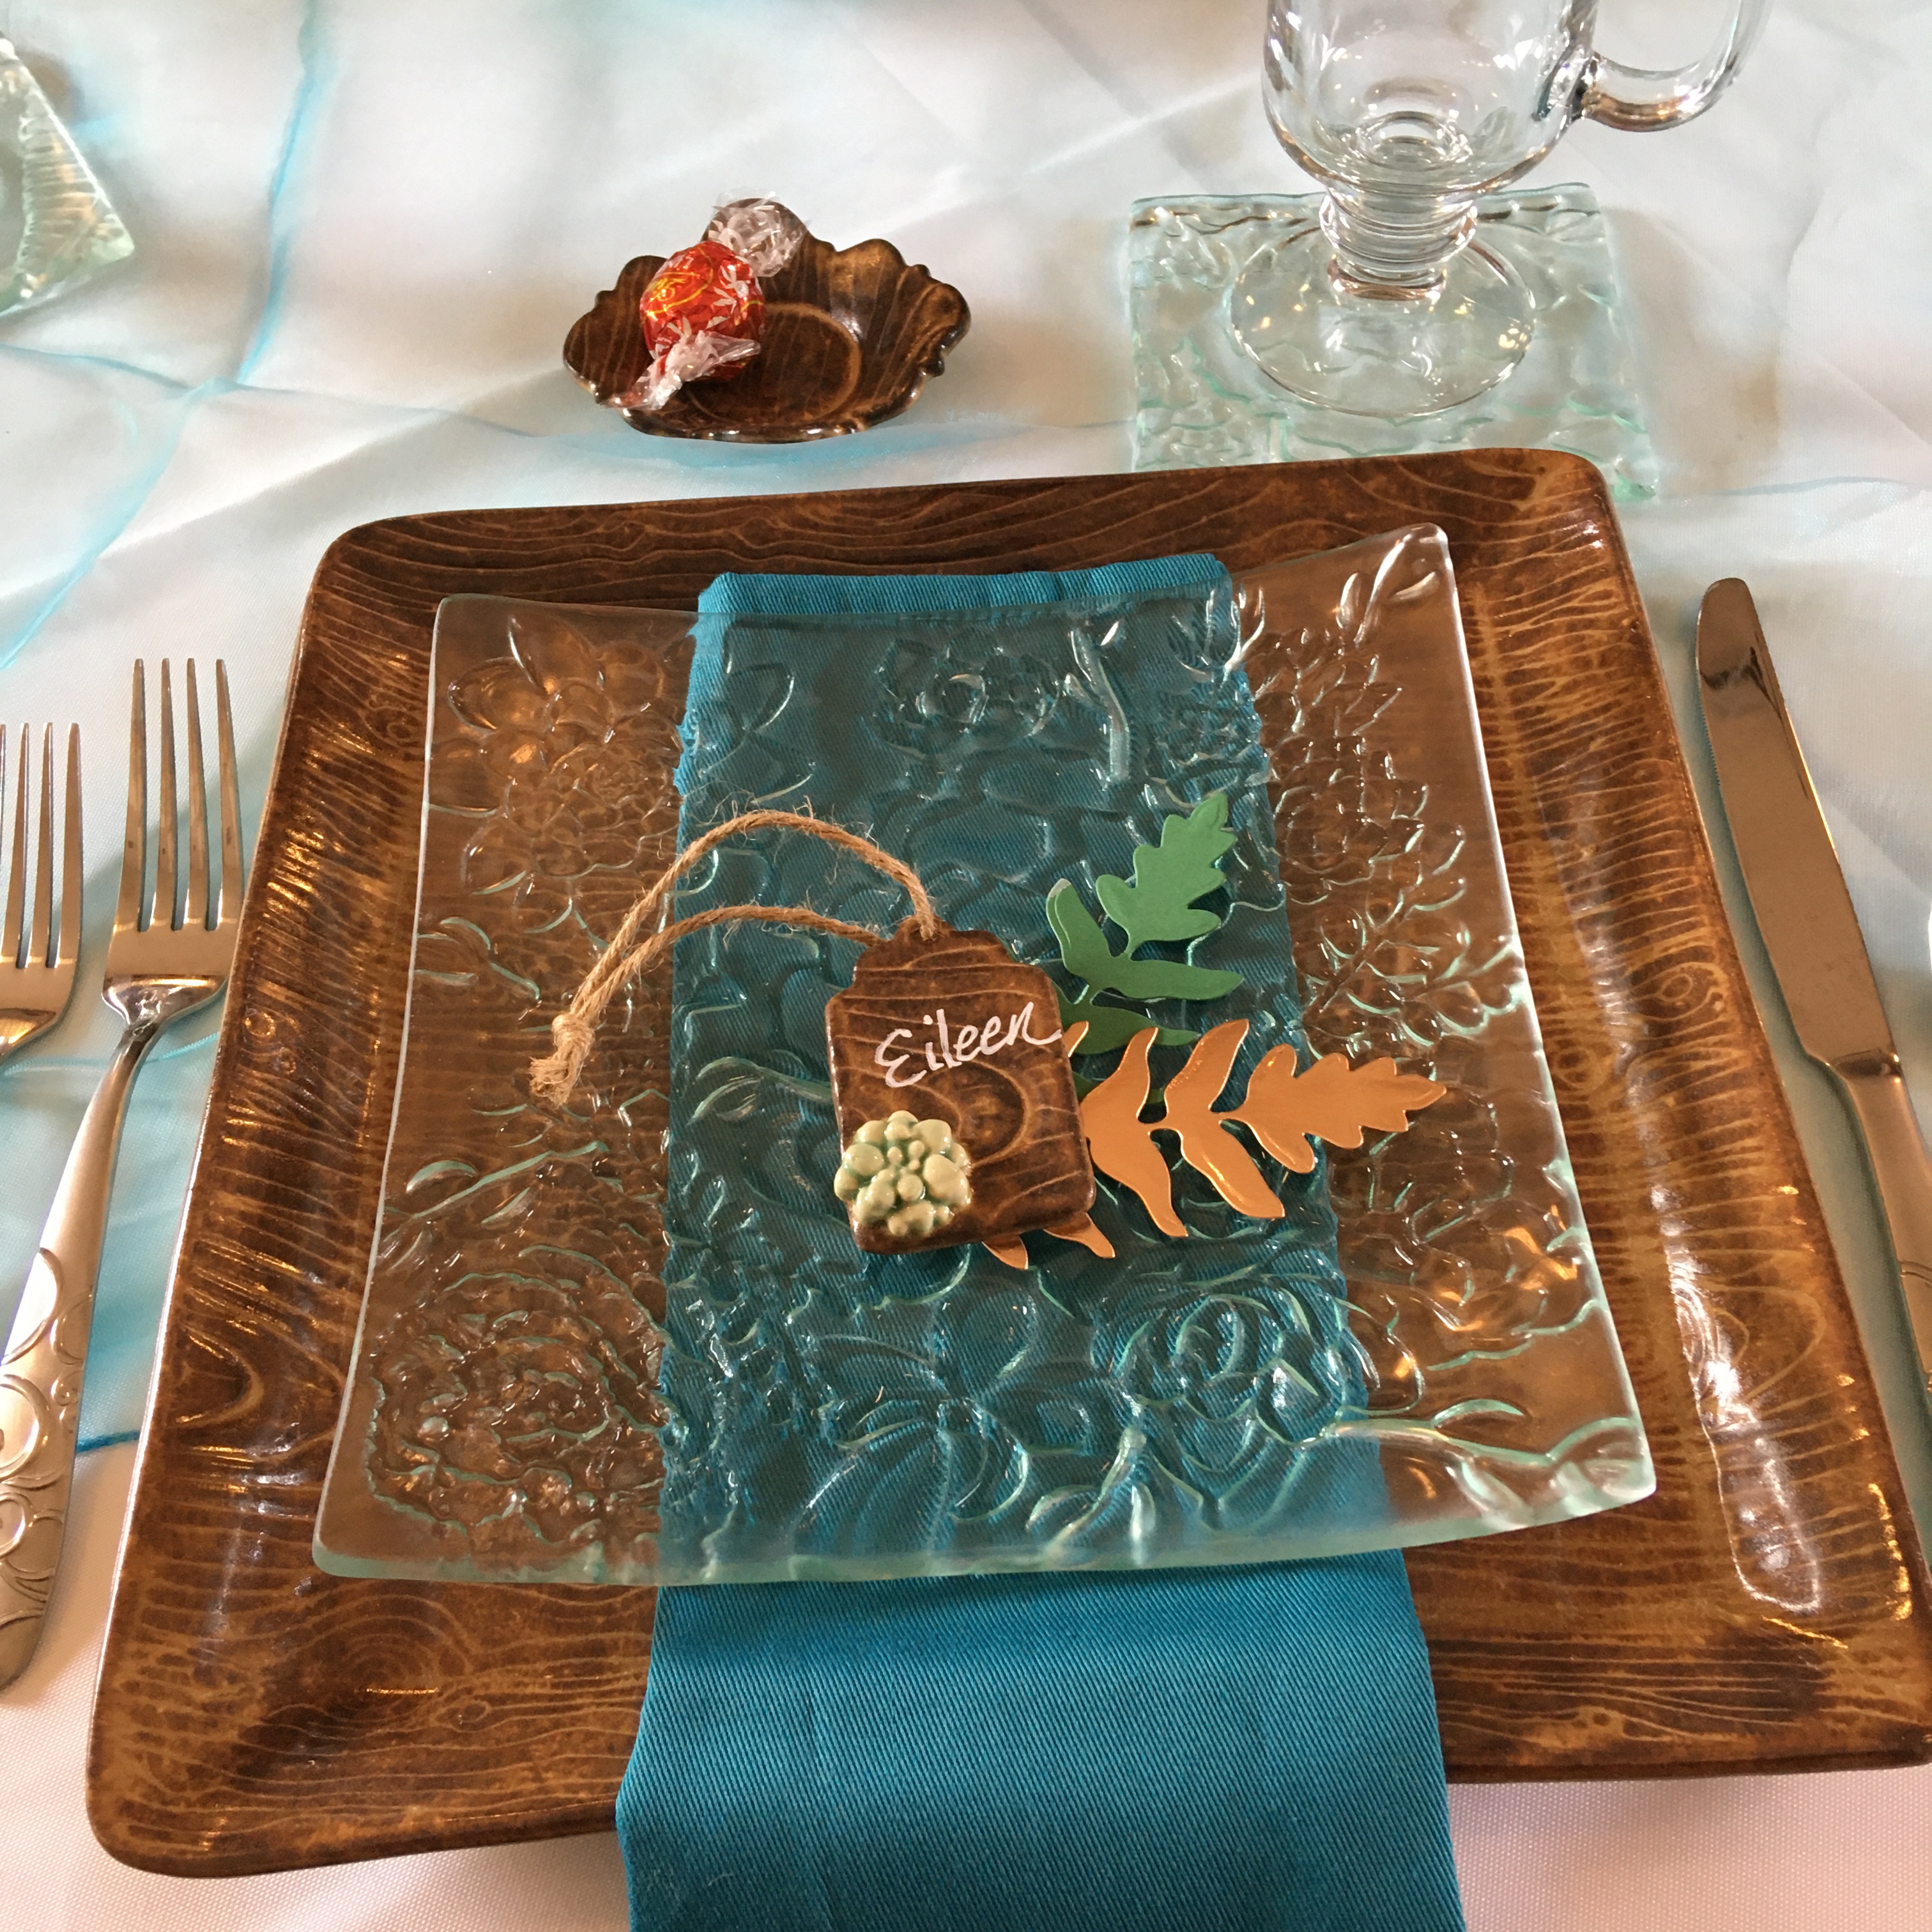
Special Note: The “Let’s Celebrate” sign was made with the HFC stamp and stoneware clay. I rolled out a piece of clay, stamped it, cut it out to look like a rustic woodland sign and gave it some wood texture with a carving tool. It was dried flat for a week, then bisque fired, then stained with iron oxide and fired to cone 5 in a kiln. If you don’t have access to pottery kiln, you can use polymer clay or layer 3 pieces of chipboard. There are always creative ways to achieve a similar look!

Let’s Celebrate!

Eileen

Lets celebrate front viewLets celebrate close up2Lets celebrate sideviewLets celebrate inside