Hi Everyone,
It was my mom’s 80th birthday this past weekend! I wanted to make a beautiful easel card for her. I haven’t made many of these types of cards, so deciding the shape was a bit time consuming! So many options!! Here it is!!
Supply list: Spellbinders grand labels 4, 110 # white cardstock for base and fold parts to make it sturdy. Candlelight/pearl cardstock layer, vellum layer with Swiss dot embossing, tulle layer, Lemon Craft -House of Roses paper for final top layer with matching rose embroidered ribbon, Tim Holtz frame- 2 pieces of chipboard (cereal box) with a layer of white cardstock, 140# cold press watercolor paper, Spellbinders (SB) rose creations die, SB rose leaf die, Sizzix number strip, Cheery Lynn fish banner, Recollections pearl bling. Distress Ink: Peeled Paint, vintage photo, picked Raspberry, spun sugar, antique linen. Staz-on ink: Jet Black. Dries clear adhesive, hot glue. Imagination. 🙂
Directions: Cut all your layers- two of each with whatever base shape and paper you decide. I have four layers. Make a hinged base layer, score the top layer of the base and fold in half. Cut all your roses from watercolor paper, spray lightly with water and ink with distress inks using a foam pad. Using a water brush and peeled paint and vintage photo, ink all your leaves. Let all your pieces dry. Cut your frame pieces and assemble, darken the edges with vintage photo ink. Cut two sets of numbers and layer them (bottom layer plain cardstock, top layer candlelight pearl cardstock) put foam dots on back to give height. Attach to card. Stamp sentiment on vellum, dry with heat tool. Cut with fish banner die from Cheery Lynn and attach. Shape and assemble roses with hot glue. Arrange leaves and flowers, then adhere with hot glue. Attach pearl bling. Cut one more piece and attach to back of card to write a special note and you are done! 🙂
I am entering this card in “Happy Birthday” Dies R Us Challenge http://diesruschallenge.blogspot.com/?mc_cid=f82eef303c&mc_eid=e69a1bb331
Enjoy your week!
Eileen


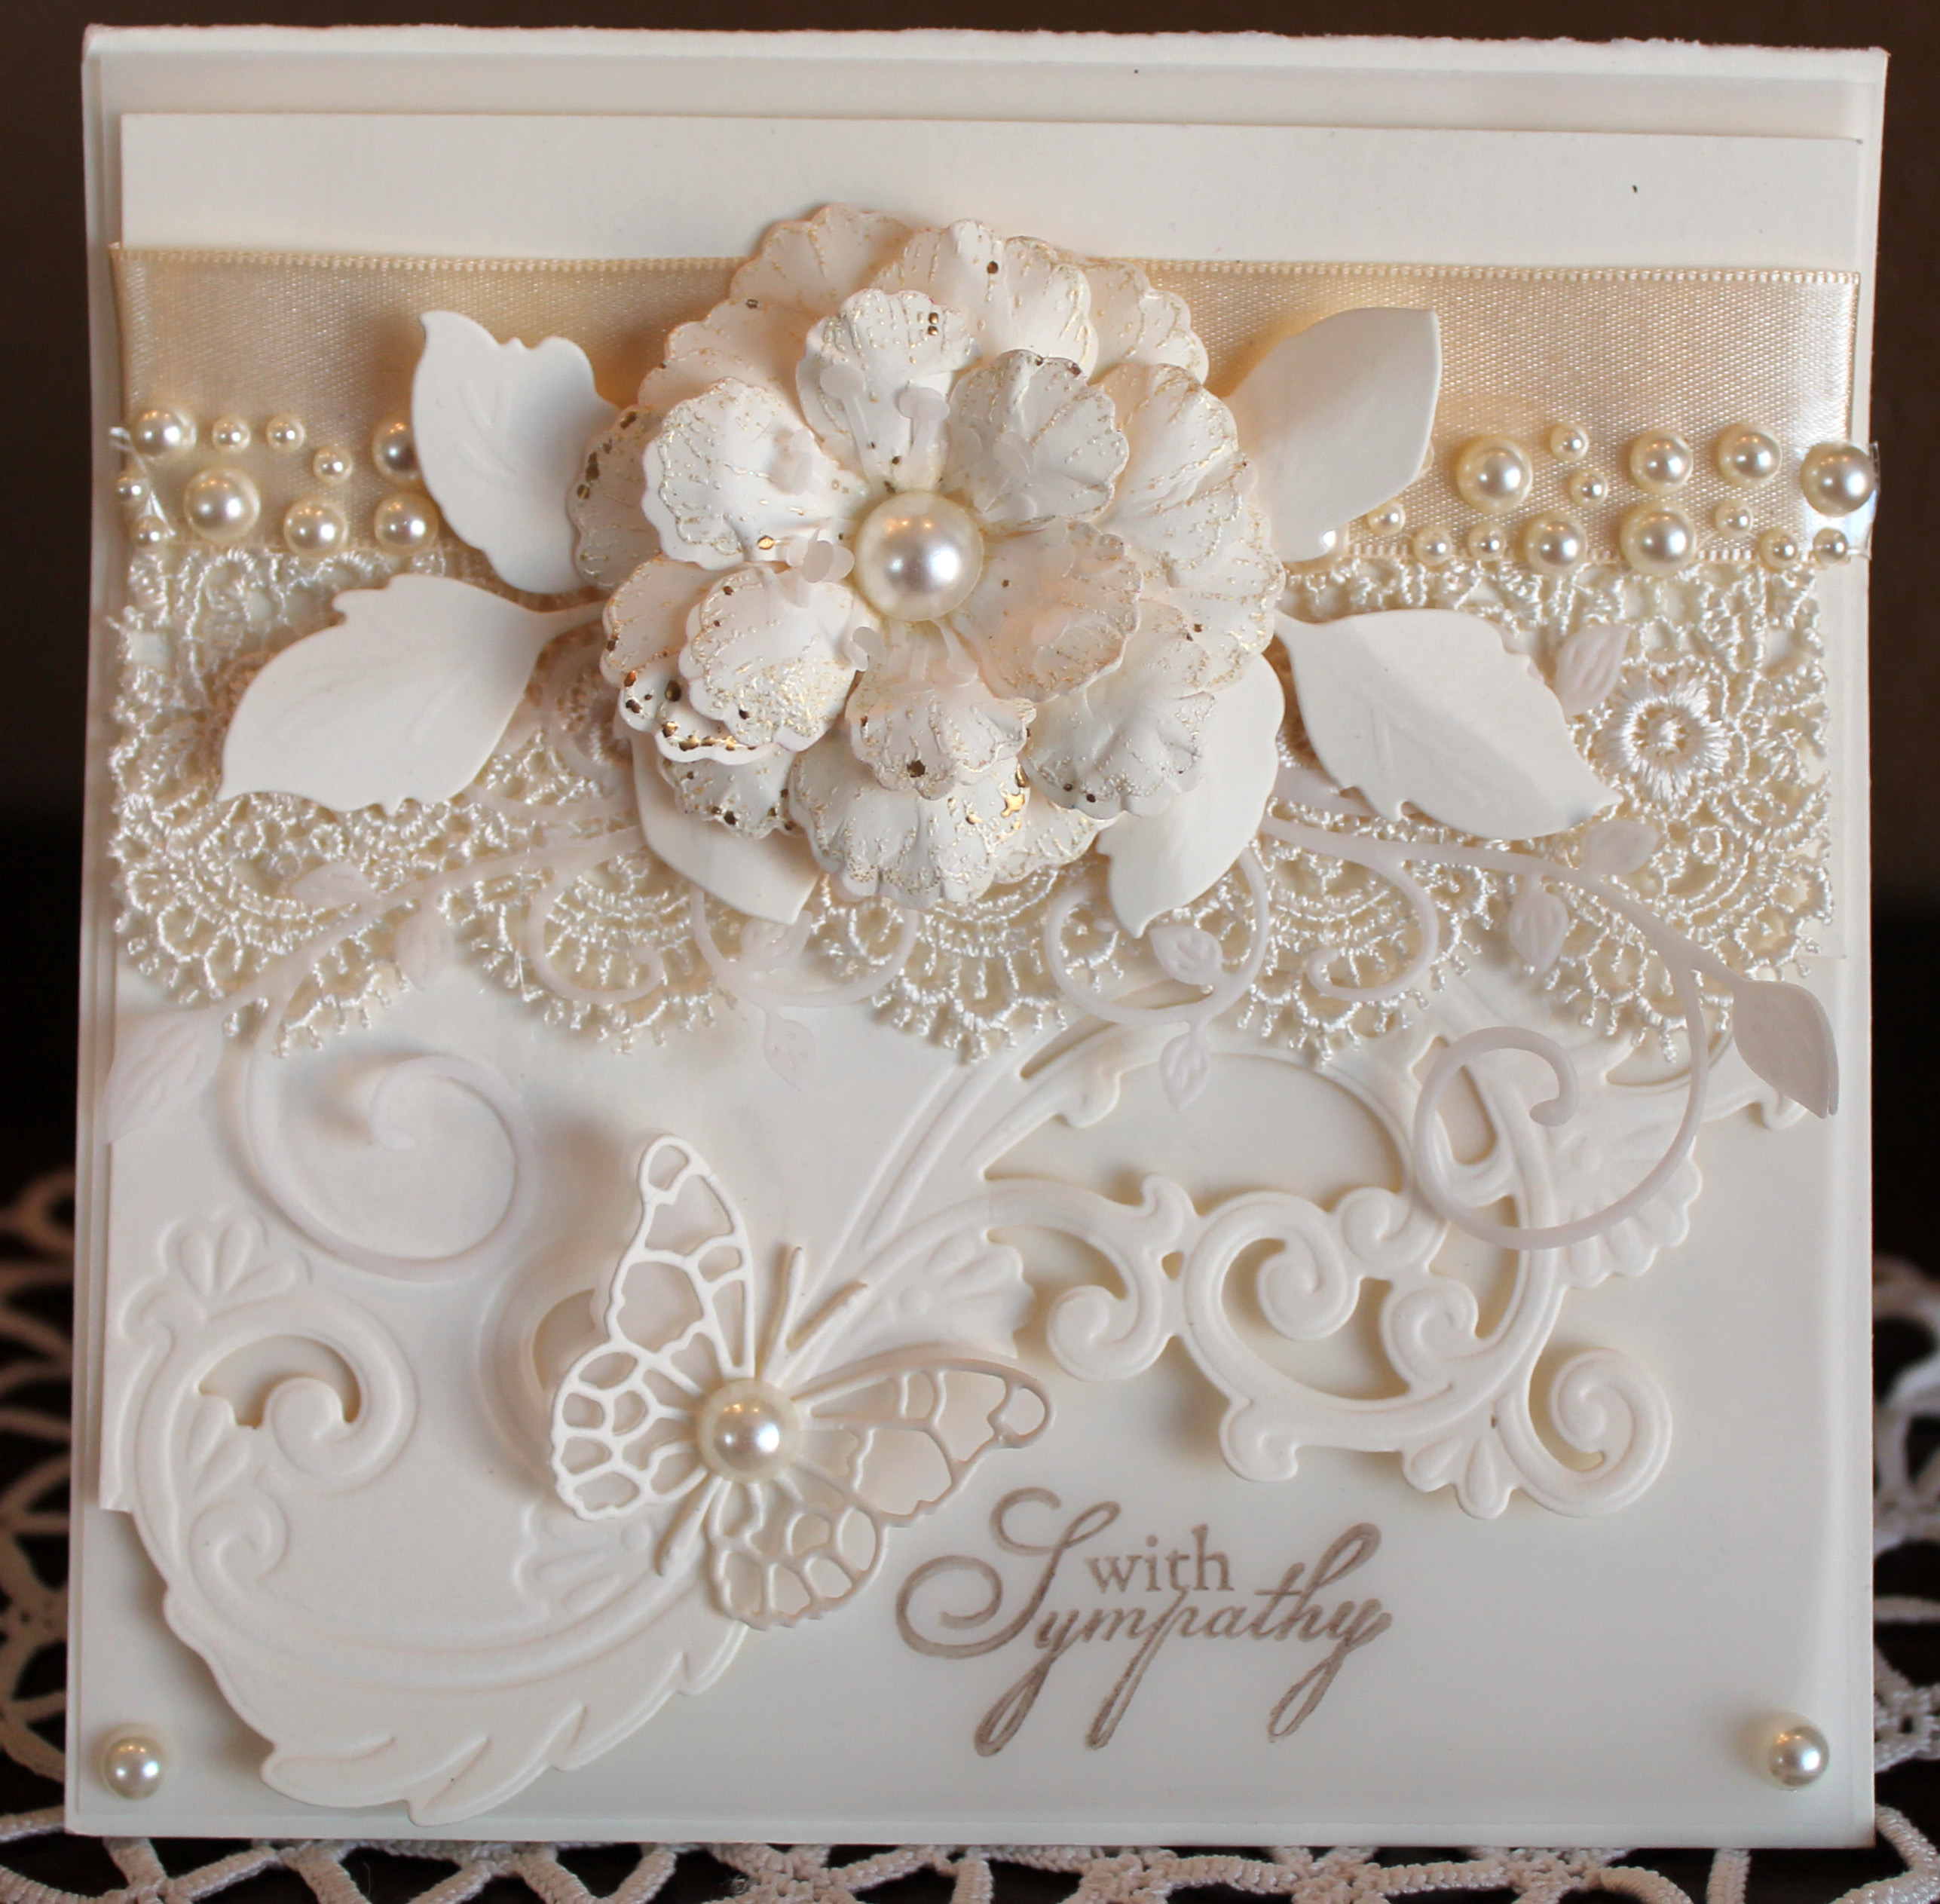
 Supplies: White cardstock, black cardstock, vellum, Justrite wedding stamp, Sue Wilson dies-Gemini Pavo, Cheery Lynn dies- wedding silhouette, leaves, Spellbinders dies- Victorian accents, Spellbinders lables 34 embossing folder, Rose Creations, Memory Box butterfly die, Magnolia dies rose leaves, edge punch, adhesive, bling – rhinestones, pearl and tulle bling, tulle (for the veil). Adhesive, mounting foam, hot glue