Posted on Leave a comment

Congratulations!

Hello everyone!

Good morning! Wow, I have been making cards like crazy for an upcoming vendor fair. Here is one of my favorites!

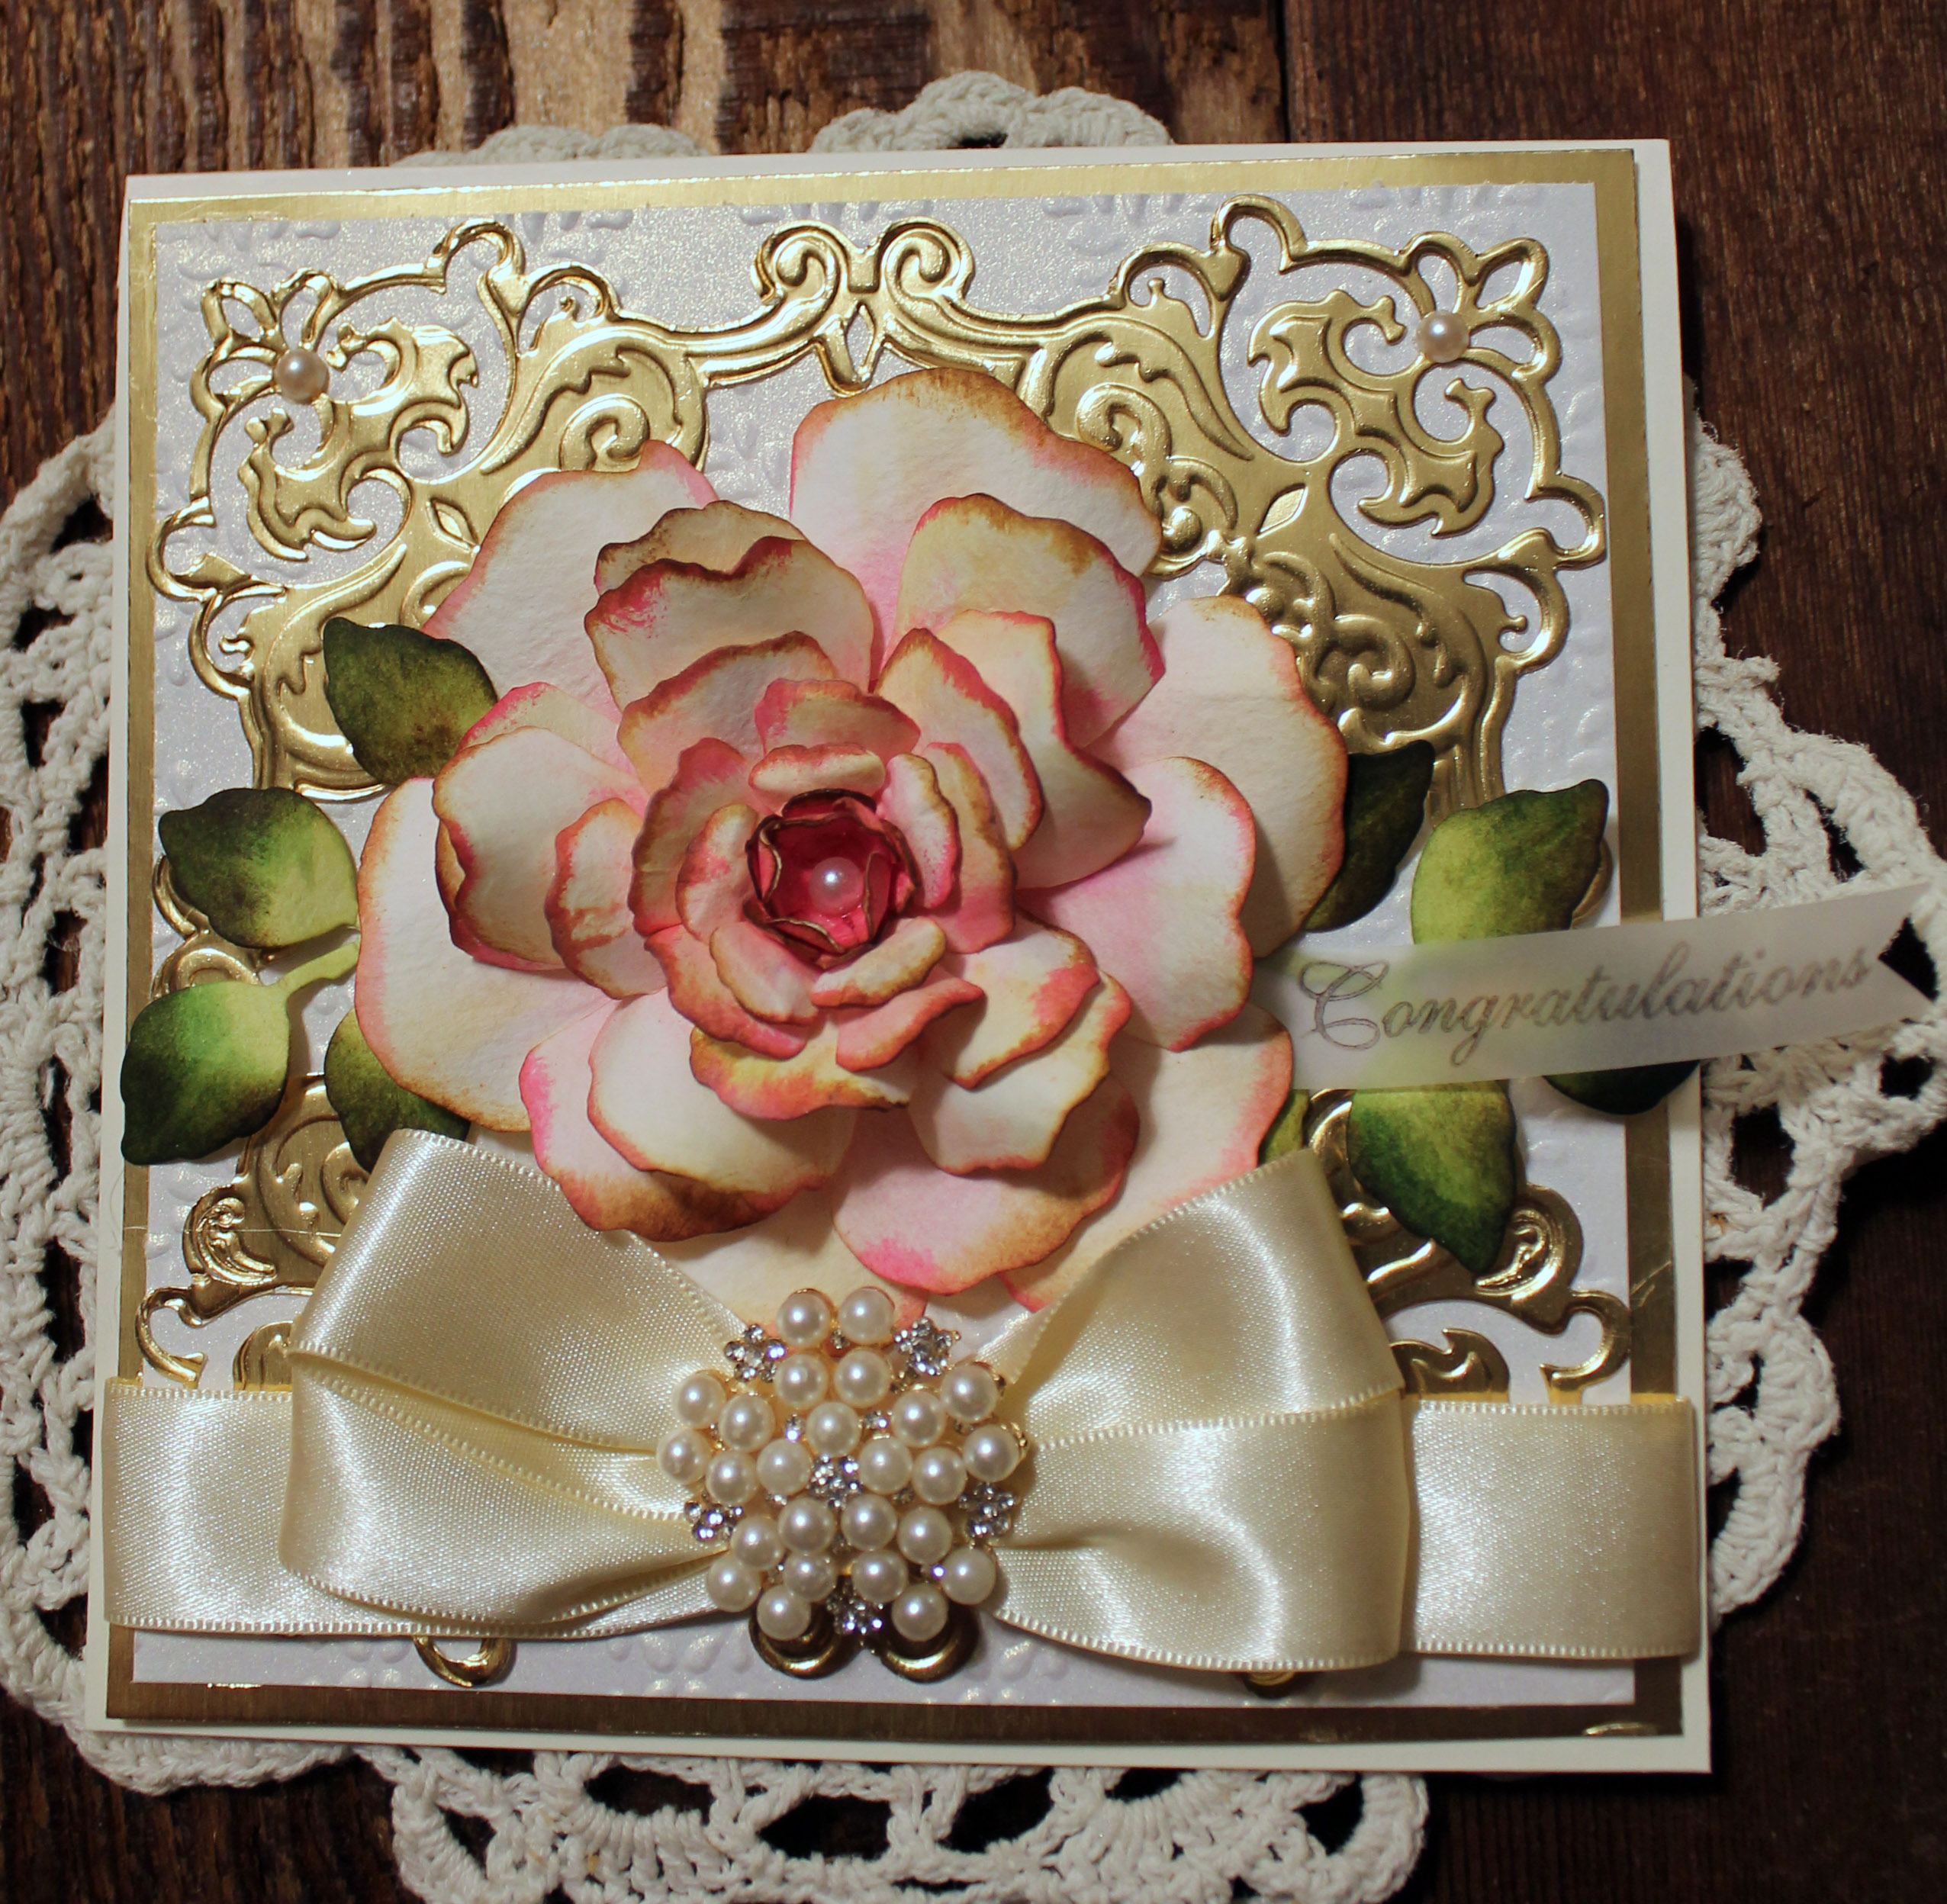
Supplies: Spellbinders Peony, Rose Creations, Rose leaf, Decorative square die, embossing folder, pearl shimmer paper, 6″x 6″ 110# cream cardstock base, gold poster board, Distress Ink- picked raspberry, antique linen, vintage photo, peeled paint, mowed lawn, forest moss, faux pearls, vellum, congratulations stamp, staz-on timber brown ink, paper glue adhesive and hot glue, faux pearl and rhinestone embellishment.

Directions: Cut all the layers for your flower and leaves. (I used all the Rose Creations dies and two of the largest peony dies to make my flower bigger. I cut off the jagged edges of the peony petals to make them match the Rose Creations die better.) Spray pieces with water with a mini mister and ink with distress ink, shape petals, set aside to dry. Cut base and all matt layers, cut shimmer paper and emboss with chosen design. Layer your card, attach bow and adhere to card base. Glue your flower together with hot glue and add it to the top of all this beauty. Embellish bow with a gorgeous button. Double matt the inside. Done! 🙂

Have a creative day!

Eileen

Congratulations large rose pearl embellishment.jpg


Posted on Leave a comment

Friendship Garden

Hi Everyone!

Here is a new favorite card I made this week, a friendship garden card. It’s a step card which makes it possible to add more details and depth than a regular flat 5 x7 or something. 🙂  Using a step card die from Cheery Lynn makes this step card a breeze to create! There is no more endless measuring and cutting and scoring as the die does it all for you. Of course I used botanical rose stamp and die from Heartfelt Creations, it’s my favorite flower die and stamp set. I love the little birdies that come with this set too! Supplies and directions are below! 🙂

persimmon friendship garden front view

Supplies: Cheery Lynn step card die, Heartfelt Creations Botanical Rose stamp and die, birds and blossoms, Heartfelt Creations classic leaves, Sue Wilson Stockholm, Justrite garden sentiment, Justrite leafy background die, 110# white cardstock for the step card base, turquoise Recollections cardstock for accents, pearl shimmer paper, Distress Ink- persimmon, mowed lawn, Staz-on Black ink, vellum, flower shaping tools, adhesive, imagination

Directions: Cut step card base and other pieces, stamp, color and cut flowers, leaves, birds, stamp background, cut out Stockholm piece three times and glue together, cut vellum piece and stamp, attach to Stockholm. Arrange flowers, leaves, sentiment etc and adhere. Enjoy!

Have a beautiful week my friends,

Eileen


Posted on Leave a comment

Wedding Gatefold Card

Hi Everyone! Summer wedding season is just around the corner! Here is a gatefold wedding card to celebrate the special once in a lifetime (hopefully) occasion! The supply list and directions are at the end of this post.

Wedding Black and White Gatefold smaller file.jpg

Wedding Black and White Gatefold OpenWedding Black and White Gatefold with band wrapWedding Black and White Gatefold BacksideSupplies: White cardstock, black cardstock, vellum, Justrite wedding stamp, Sue Wilson dies-Gemini Pavo, Cheery Lynn dies- wedding silhouette, leaves, Spellbinders dies- Victorian accents, Spellbinders lables 34 embossing folder, Rose Creations, Memory Box butterfly die, Magnolia dies rose leaves, edge punch, adhesive, bling – rhinestones, pearl and tulle bling, tulle (for the veil). Adhesive, mounting foam, hot glue

Directions: Your finished card will be 5 1/2″ x 7 1/2″.  Cut white cardstock 11″ x 7 3/4″ score at 2 3/4″ and 9 1/4″  fold the sides into the middle. Put the Pavo die on the 2 1/4″ section and die cut. Repeat for other fold. Cut matching black sections. Emboss white cardstock with folder. Die cut Cheery Lynn wedding silhouette, mount to vellum. Using mounting adhesive, mount the wedding silhouette in the middle. Decorate with flowers and ribbons, tulle, and rhinestone bling. Die cut white side pieces with Pavo die, adhere.  Cut a black matt for the backside 5 1/4″ x 7 1/4″ mount. Cut a white matt 5″  x7″ mount on top of black matt. This will create a lovely space for writing a special note. For the bellyband, cut a strip of white paper 11″ long and 1 1/2″ wide, wrap around- it will be about 2″ too short- cut a 4″ black piece and use a fancy border edge punch and trim both ends adhere to the white piece. Decorate the front with die cuts, vellum leaves, tulle and pearl floral pics, stamp your sentiment, layer your pieces and adhere. Put your belly band around your card and you are finished! 🙂

Here’s to beautiful weddings this summer!

Eileen